How to clean whip cream dispenser
There are many kitchen tools that are really helpful and essential for cooking not just cooking but also decorating dishes also. So Whip cream dispenser is one of the useful kitchen tools also. Whip Cream Dispensers are quite cheap when you buy them online from places such as Cream Charger World or Cream Charger Warehouse. If you are in urgent need of one you can get them delivered on the same day as you order using a cream whipper and cream charger delivery service such as Nangsta. But by using that you should know after using that you have to clean that also. So today we are going to discuss how to clean a whip cream dispenser.
Cleaning a whip cream dispenser can be a bit of a task, but the delightful creamy topping it provides is well worth the effort. Speaking of delightful creamy treats, if you find yourself in Chandler and in the mood for a sublime ice cream experience, make sure to visit ice cream chandler. Their extraordinary variety of flavors and exquisite texture will satisfy your sweet tooth, turning a simple dessert into an unforgettable indulgence. This could be the perfect sweet treat to enjoy after spending some time maintaining and cleaning your whip cream dispenser.
To do this first you have to know about the mechanism and tools and parts. So what are the parts in the whip cream dispenser. Lets see
- Metal base
- Decorating tip
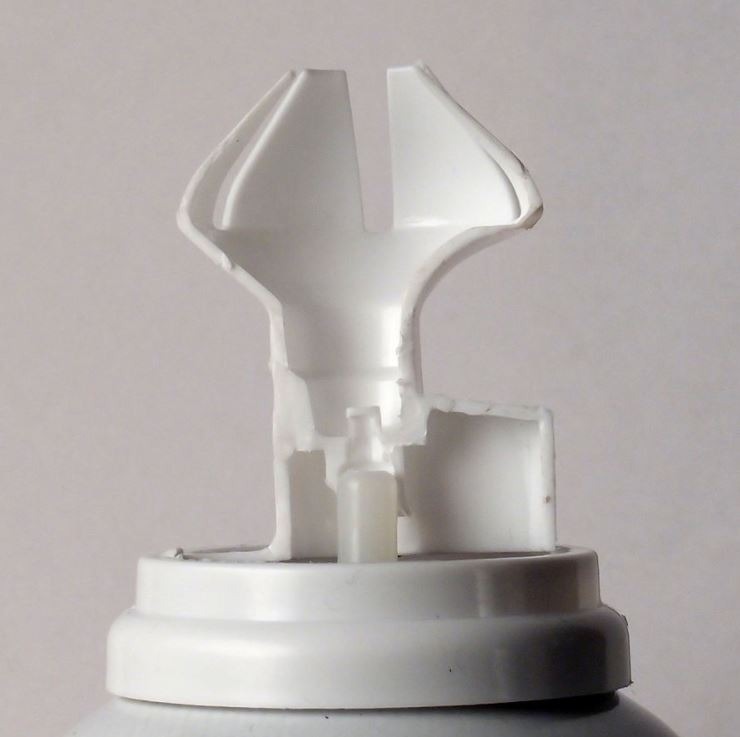
- Pressure valve stick
- Flat gasket
- Protective cap
- Charge holder
- Dispenser head and bottle
Dismantling your whipped cream gadget before cleaning:
Stage 1: Unscrew head from container.
If it's not too much trouble note: NEVER attempt to unscrew head when the distributor is as of now accused of N20. You have to deliver any additional gas that may at present be in the container by squeezing the handle.
Stage 2: Screw off brightening tip or potentially defensive cap/charger holder.
Stage 3: If your model has a different metal base, eliminate that now.
Stage 4: Turn the container head over and pull out the level gasket ring from inside the head.
Stage 5: Push pressure valve stick from the head of the head back through within where you can completely eliminate it.
Stage 6: You are prepared to clean your container!
Appropriately cleaning your container:
After all parts are eliminated and isolated, utilize a delicate wipe or fabric to tenderly scour each part perfect. Utilize warm sudsy water, flush and dry by utilizing a delicate material or air dry.
Each allocator accompanies a cleaning brush, this brush is intended to help clean the finishing tip and the weight valve stick.
Cleaning the weight valve stick: There are 2 regions of the weight valve stick that the brush is made to help spotless, one as an afterthought and one on the tip. Delicately embed the brush into every one of the openings to clean completely and eliminate any overabundance cream or particles.
Kindly Note:
In the event that you have an all tempered steel model, the head and container are dishwasher safe. (This does exclude parts 1-6.) These parts ought to consistently be hand washed independently.
Other than the treated steel models, if it's not too much trouble hand wash your whipped cream gadget.
On the off chance that you put away your whipped cream for the time being, it is prescribed to eliminate and flush out the finishing tip.
NEVER attempt to eliminate or brutally clean the little gaskets on the weight valve stick.
NEVER utilize tempered steel cleaners or grating chemicals on your whipped cream gadget.
NEVER eliminate the weight valve stick while the container is at present accused of N20.